Cookie Cutter Organization Hacks You’ll Wish You Knew Sooner
- Bakehouse Studio

- Jun 6
- 2 min read
Whether you’re a cookie hobbyist with a growing collection or a full-time decorator juggling hundreds of designs, keeping your cookie cutters organized can be a real challenge. If your cutters are living in a chaotic drawer (or three), it's time to take control. Here are my favourite organization hacks to help you find the cutter you need exactly when you need it without digging through a pile!
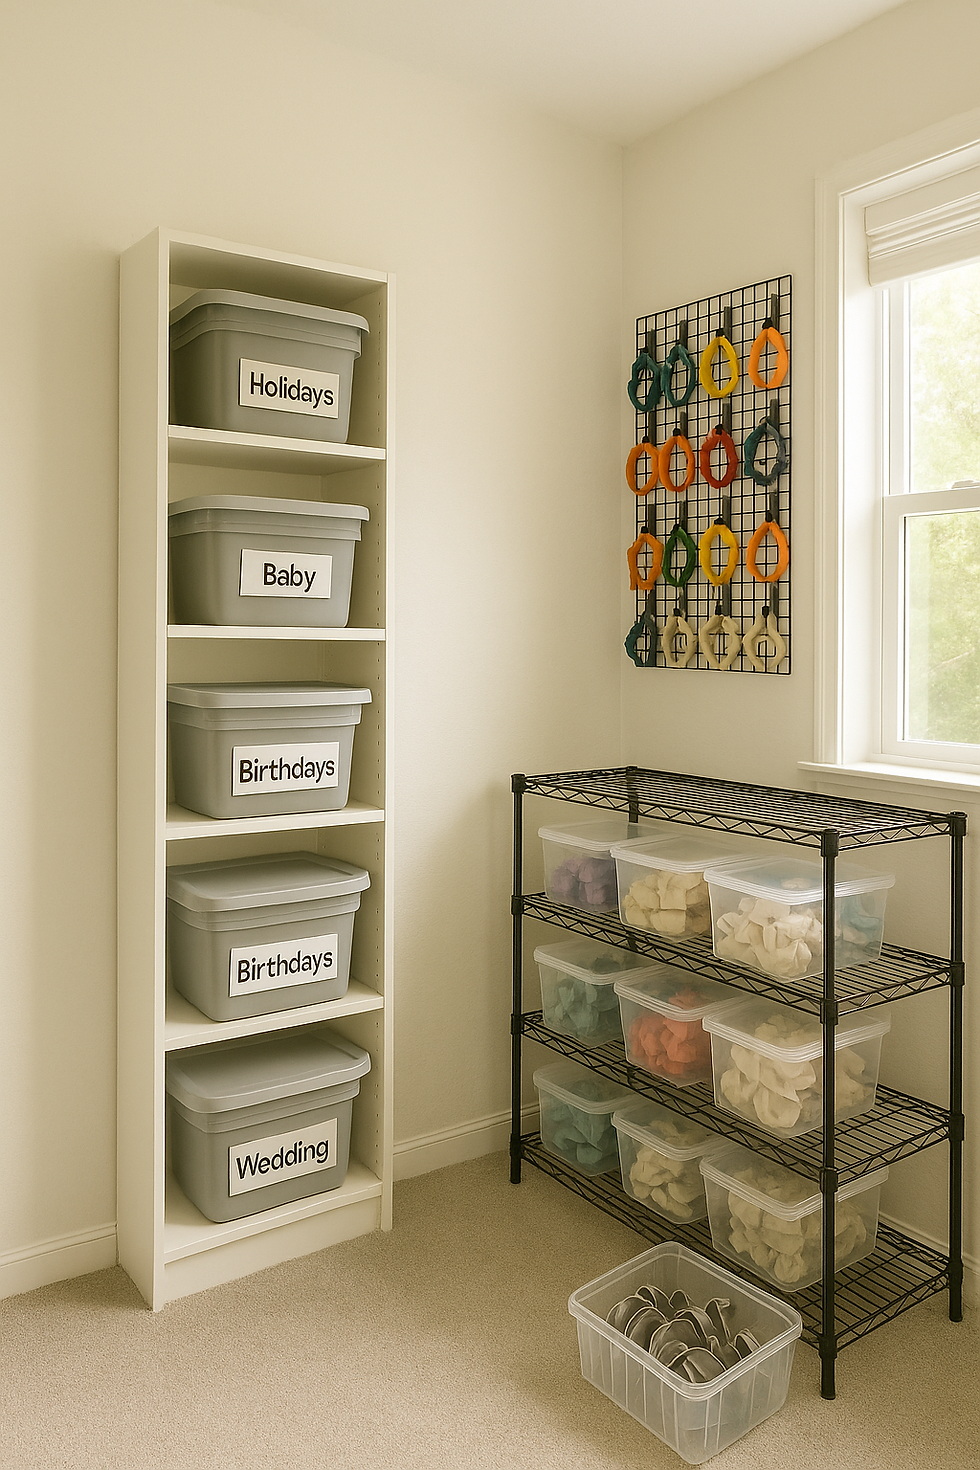
1. Sort by Shape or Theme, Not Size
It might seem logical to group cutters by size but when you're in a rush to decorate a baby shower set, you won’t want to search through a pile of “mediums.” Instead, sort by theme:
Holidays (Christmas, Halloween, Easter)
Occasions (baby, birthday, wedding)
Everyday basics (hearts, circles, florals, animals)
Pro Tip: Use small plastic bins or zipper pouches with labels for each category.
2. Use Hanging Shoe Organizers
Yes , the kind that hang on a closet door! The clear pockets are perfect for visual storage, especially for cutters you use often. Bonus: it frees up precious drawer space.
3. Label Everything Clearly
Invest in a label maker or use printable labels to make searching faster. Clear, consistent labels like “Spring Florals” or “1st Birthday” cut down the guesswork and keep you organized long-term.
4. Create a Digital Cutter Inventory
If you’re constantly forgetting what you own (and rebuying duplicates), it’s time to track your collection digitally.Try:
A simple spreadsheet (with tabs for theme, size, source)
Inventory apps like Airtable or Notion
Snap photos of each cutter and add them to a searchable photo album
5. Store Common Shapes Together
Keep your core shapes : circles, squares, hearts, basic banners in an easily accessible box. These shapes are often used as bases or accents and should be grab-and-go ready.
6. 🧰 Repurpose Craft Storage
Beads boxes, tackle boxes, and scrapbooking drawers are great for mini cutters or accessories like stencils, minis, and embossers. Don’t limit yourself to kitchen storage solutions!
7. Use Stackable Bins with Dividers
Clear stackable bins with adjustable dividers allow you to separate themes, while still keeping everything visible. Perfect for those with limited shelving space or growing collections.
8. Rotate Seasonally
Keep seasonal cutters in storage bins and rotate them as holidays approach. Keep current-season cutters close at hand, and store the rest out of sight to reduce clutter.
9. Decorate with Your Cutters
If you love the look of your collection, show it off! Hang pegboards or wire racks to display frequently used or favourite shapes both decorative and functional.
10. Bonus Hack: Keep a “Mystery Cutters” Bin
We all have those cutters we swear we’ll use “someday.” Keep them in a separate “maybe” bin and every few months, sort through it. If you haven’t touched them in a year… it may be time to donate or sell!
A well-organized cutter collection saves you time, inspires creativity, and keeps your decorating workflow smooth and stress-free. Whether you have 20 cutters or 200+, these hacks will help you take control of your space and maybe even discover cutters you forgot you had!


Comments